
Recommended For You
How about we start with a little disclaimer: this is not going to be a smooth-sailing journey. Snipping a few inches of hair on your own seems like the best way to deal with your precious locks growing too long for your own good. However, even if online trends make it look oh-so-simple, learning how to cut your own hair could take a lot more effort than you think. Don’t worry, we totally got your back on this! If you’re up for the challenge, we’ve gathered a list of the most helpful tips and instructions to guide you through a successful DIY haircut.
Must-Know Tips Before Cutting Your Own Hair
Credit: cottonbro / Pexels
If you want the best chance of nailing it on your first try, it’s high time for you to learn the basics of haircutting. We don’t want it to end up as another haircut horror story! So it’s important to err on the side of caution and read up on best pre-cutting practices.
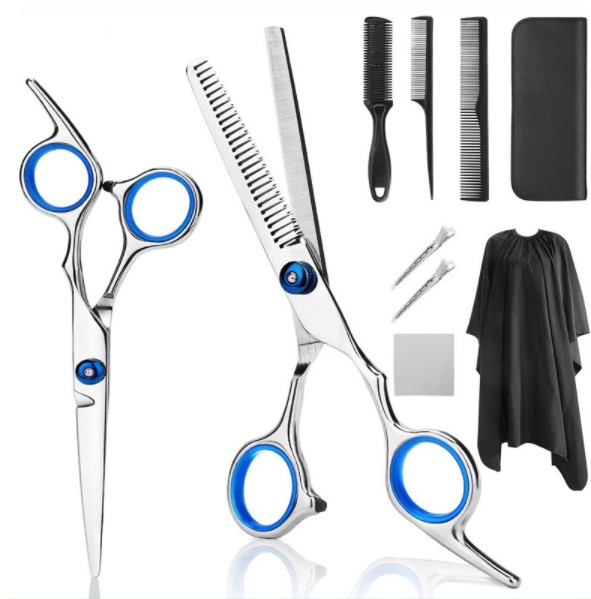
1. Invest In Proper Hair-Cutting Tools
In case you’re already eyeing a pair of kitchen scissors you have at home, now is the time to reconsider. Remember, you want to mimic your hairdresser’s ways as much as possible, and getting the right tools in hand is a perfect way to start. A pair of regular scissors might not be sharp enough to give you clean lines as you cut. Buy razor-sharp hair cutting scissors instead to make it easier for you to cut precise, clean edges.
At some point, you’ll need to be sectioning your hair, and an anti-static barber’s comb should do the trick. These combs usually have two parts: the wide teeth which you can use to detangle your hair, and the fine teeth which you can use to set and pick up sections of hair as you cut. Hair sectioning clips or elastic hair ties help make big chunks of hair stay out of the way as you carefully cut in sections, which is highly beneficial when you want to create layers or bangs.
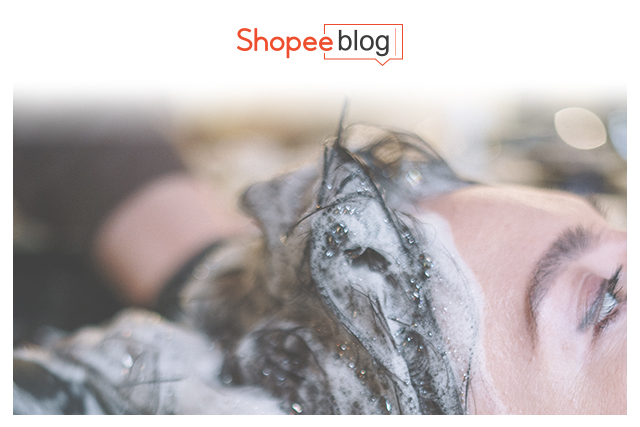
2. Consider Your Hair Condition
Here comes a big question: should you cut your hair wet or dry? It depends on your hair type! If you have straight hair and you aim for a sleek, straight cut, you might want to keep your hair damp to make it more manageable and get the sharpest edges possible. When working with wet hair, do not cut exactly in your desired length. Leave out a few centimeters for allowance, since hair tends to bounce up when dried and you don’t want it to end up looking shorter than you wanted.
For those dealing with more texture and volume, it’s best to cut wavy to curly hair when dry so that you keep an eye out on what the outcome is going to look like while you cut. But whatever your hair type is, it’s important to shampoo and condition your hair before the haircut so that oil and dirt won’t make it cling together, hence preventing an uneven finish.
3. Start With Careful, Little Snips
The less you snip, the better! You may be itching to go rogue with your scissors. But keep in mind that growing your hair could take months, so you want to run the smallest risk possible. Picture your ideal length, then start doing small cuts and work your way up. This way, you’ll get to take a look at your progress from time to time and reassess if you need to cut more or you’ve already gone far enough. You can always cut more hair off, but there’s no going back once you’ve gone overboard with the hacking. Additionally, taking it slow is the best way to go, so carefully cut even lines first before you decide to go further.
4. Don’t Do Big, Horizontal Cuts
You may have noticed that haircut disaster stories often start with the person doing one big cut straight across the length of their hair. Horizontal cuts are necessary when removing length, but do it little by little. Follow through with vertical cuts or “point cutting”– point your scissors upward and snip the edges vertically to create a more natural finish. This might take some time to learn, but you can always use a few YouTube tutorial videos to get a clear visual on how to do it right.
Try These Easy DIY Haircuts At Home
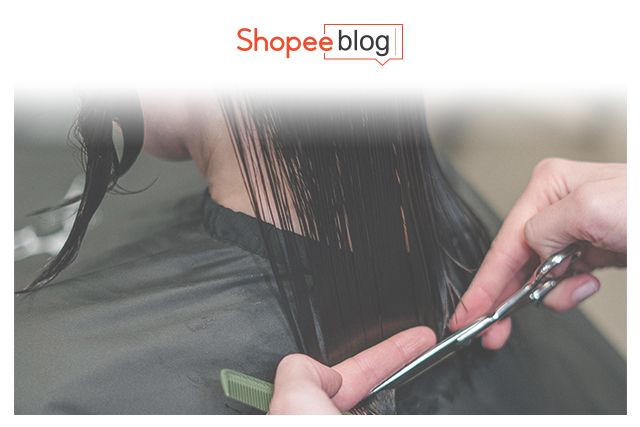
Nailing The Perfect Trim
Credit: cottonbro / Pexels
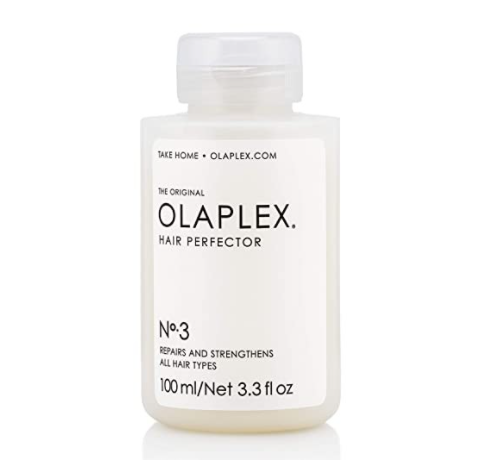
Now that you have the right tools in hand and your hair prepped, it is finally time to practice how to cut your own hair at home by starting with simple trimming. Trims are especially beneficial for those who have split ends to avoid further damages that can go up to the hair shaft. If your goal is to simply get rid of them, we recommend trying out a few hair treatments for split ends first. But if you badly want a quick fix, an easy and conservative way to cut off split ends is by twisting small sections of your hair and start trimming the ends that stick out from the twist.
-
For Long Hair
- Make sure your hair is prepared based on your hair type and combed well to ensure perfectly even ends.
- Part your hair from the center of your head to the center of your neck, creating two equal sections, then bring both ends to the front. Take an elastic hair tie and tie the two ends together.
- Use your middle and pointing fingers to guide your hair and cut horizontally with your hair cutting scissors. Remember to start small, so cutting a quarter of an inch to half an inch is ideal.
- Take the elastics off and comb your hair to check how even the edges already are. Using your fingers as a guide, take one section of your hair and slowly trim the ends vertically to get a more natural texture.
- Repeat on the other side.
-
For Shoulder Length Hair
- Dampening your hair is extremely helpful to get a clearer look on the edges of your hair since you’re working on a hair length that gets easily noticeable when the ends are uneven.
- After combing your hair, part into two sections and tie each section separately with elastics. Tie both parts once more to determine the hair length you want to achieve; the second hair elastic will serve as your guide on how much to trim (remember to leave an allowance). Make sure both sides are completely even.
- Cut just above the ponytail horizontally with your scissors. Remove the hair ties to reveal how the ends initially look. It might look a little choppy, but don’t lose your hope yet!
- With a clip, section your hair off and work with the bottom layer first (the hair lying closer to your head and neck). Part that layer into two and bring to the front.
- Start cutting the jagged lines straight then cut vertically to soften the edges.
- Let another layer go off the clip and let it blend with your previously refined layer. Repeat step 5 to make both layers even.
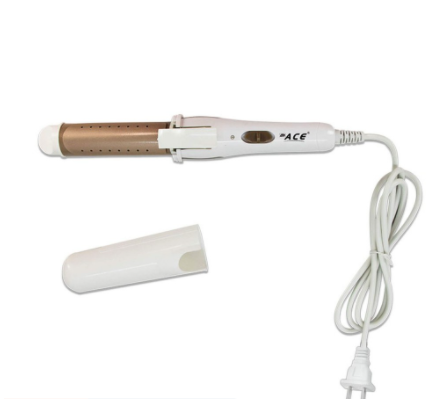
- Repeat step 6 to the next layers until you get to the top. Use a hair straightener to check if the ends look even at the front and back. If it still looks choppy, repeat steps 4-6 until you get even, natural-looking edges.
-
Wavy To Curly Hair
Trimming hair with a more defined texture is especially tricky when done by yourself. It’s important to consider that curls have different types and patterns, and you might need to do some extra research to identify what works best for your specific hair type.
- For wavy hair and loose curly hair, make sure your hair is completely dry and detangled well enough.
- Start with the bottom layer by clamping the rest of the layers with a clip. Part into two and bring to the front. Use fingers to guide the edges, and trim off the ends that are sticking out longer than the rest until you get even lines.
- Let off another layer of hair and blend with the finished one, then make both layers even. If you’re trimming a layered curly hair, tie off the previously refined layer before working with the next ones to avoid cutting them in the same length.
- Make sure that your scissors are angled diagonally when cutting the curls. The ends should look pointy rather than blunt, which looks better for curly hair.
- Use a mirror to check the hair at the back. Work on smoothing the edges until it looks perfectly layered or even.
Creating Layers

Credit: Nicole De Khors / Burst
Just for a little more excitement, how about adding some layers to your DIY haircut? There are tried and tested methods to achieve layers even with minimal experience in haircutting. If you’re really up for the challenge, try the “unicorn ponytail method” using the step-by-step guide below:
- With damp hair, start brushing all your hair straight back and make sure to take the tangles out. Then, flip your head over and keep brushing your hair straight and forward.
- Gather your hair and take a hair tie. Form a ponytail at the top of your forehead (as if making yourself a unicorn horn made out of hair). Make sure the hair is still brushed straight, feel for any hair bumps, and smoothen with a brush.
- With your fingers as your guide, straighten out the ponytail parallel to your head, and make a diagonally-angled cut. Take note that the hair at the back should be the ones at the very top of your ponytail, and the hair at the sides should be the ones at the bottom.
- The sharper the angle, the more defined your layer will be. Once you’ve cut in your desired angle, start doing small vertical cuts for smoother ends.
- Remove the ponytail and comb your hair downward. You should see that the sides are the shortest, and it goes longer all the way to the back.
Cutting Your Own Bangs
Credit: Bernard Lee / Pexels
Bangs just have a way of dramatically changing your look, which is why it is one of the most popular trends in haircuts for women that sprung out of sheer quarantine boredom or K-pop and K-drama influence. And when we say dramatic, we mean it could only end in two ways: one that makes you look extra charming, and one that makes you not want to leave your house again for the next few months. To make sure you don’t end up with the latter, carefully follow a few steps for cutting three types of bangs below.
-
Curtain Bangs
Curtain bangs are increasingly popular for being low maintenance while also giving a subtle way of framing your face and adding more hair structure.
- Part your hair at the center. Take a section of hair at the front that makes a triangle shape at the scalp. The more hair you include, the more defined your bangs will be. Push the rest of your hair behind and secure them in the back with a clip or tie.
- Split that section into two and start working on them separately. Take one side, pinch the edges with your fingers, and slowly slide the scissors down and diagonally.
- Do not tug on the bangs too much to get them straight. You want them to stay relaxed so that you can see better how short you’re cutting it. Also, start with small, careful snips and work your way up.
- Do point-cuts/vertical cuts to create a seamless flow from the shortest end (closest to the middle) up to the longest end (closest to the side).
-
Full Bangs or Front Bangs
This type is most commonly used by those with wider foreheads or with long face shapes to create a more balanced facial structure. While typically more high maintenance than other types, full bangs are still worth a try for a more youthful, endearing look.
- Starting from your hairline, put three fingers horizontally on your head. Put your comb next to your index finger and brush your hair down from there. This is an easy way to get enough hair for your full bangs. If it looks too thick, get a thin layer at the top and push them back. If it’s too thin for your liking, feel free to add a bit more layer.
- Take a section of your hair from the front of your face up to the front of your ears. Tie or clip back the remaining section that you do not want to cut. Comb your chosen section forward in front of your face.
- Grab a smaller section of hair in the middle. Point-cut straight across and just below your eyebrows (you can cut it shorter later, but this is so you have an allowance for errors). Do NOT pull your hair down, keep it relaxed so it doesn’t bounce back up and be shorter than intended.
- At this point, your bangs should look like it has three sections- a short one in the middle, and two long ones at each side. Start point-cutting from the middle up to one side and create a soft diagonal line. Repeat on the other side.
-
Korean Bangs
Of course, we’re not forgetting about the increasingly popular K-style bangs! Also called see-through bangs, this type requires fewer strands of hair which you can style both as full bangs or curtain/side bangs.
- Part your hair in the middle. Gather a thin section of hair to the front that makes a triangle shape and brush them forward.
- Separate into three smaller sections. Starting with the middle section, guide with your fingers and point-cut up to a length that’s right below your nose.
- For the remaining side sections, take half of each section and cut them up to your lip line.
- The remaining uncut sections should be the ones closest to your ears. Take them and point-cut it up to chin level. This should be the longest section of the bangs.
- Brush and split the bangs in the middle, and start blending each side by point cutting diagonally.
- Finally, take a flat iron and style them inward to create bouncy-looking Korean bangs!
Cutting It Super Short

Credit: Marielle Capinianes / Pexels
You are definitely in for a big risk if you’re planning to cut your hair any shorter than right above your shoulders. If you already have your heart set on getting an edgy haircut on your own, the least we can do is guide you through it! Although, you might need an extra set of hands for these to get the best results.
-
Bob Cut
If you want to look effortlessly sassy all day, bob hairstyles are the way to go. Bob cuts are also an ideal haircut to make thin hair look volumized. It also creates a “facelift” effect since it highlights your jawline and cheekbones. The easiest type to do on your own is a blunt bob.
- Use a clip to separate the top and bottom layers of your hair. Grab a hair straightener and iron the bottom section straight.
- Bring your hair to the front and slowly cut horizontally. Using a mirror, check the back of your hair if it looks uneven.
- Starting from the sides, do point-cuts all the way around the back. Have a partner help you to check if the lines are even enough.
- Tie or clip the refined layer, and release another layer to straighten. Once done, point-cut to blend the new layer to the previously refined (bottom) layer. Repeat until you reach the top layer.
- If the sides look uneven, do vertical cuts on the longer side to get even with the shorter side. Make sure it blends the hair at the back.
- Finally, take your flat iron and style slightly inward to create a bobbed or bouncy effect.
-
Pixie Cut
Pixie cuts in particular are one of the most difficult haircuts at home to nail on your first try, especially by yourself. You would need a couple of extra tools, too, such as thinning shears and a razor.
- Start with damp hair that has already been cut short, at least up to shoulder length. If you have long hair, gather it into a ponytail and do a rough cut right above the hair tie.
- Separate into two main sections: the front and the back. Gather the hair at the back where the bulk of your hair is and include them in the front section, leaving the back section thinner and mostly just the hair closest to the back of your head. Brush the front section forward and use as many clips as possible to separate the two sections.
- Pull out your thinning shears and start cutting the back section just a few centimeters from your desired length. Cut from underneath all the way to the top layer. You might have to do a little estimating, and this is where you most likely need an extra pair of hands.
- Cut the hair behind your ears to make the hair hug the shape of your neck a little tighter.
- Keep refining the ends as you go. Lifting small sections of hair high while you cut it will leave a softer effect.
- Remove the clips and blend the front section with the back. Brush your hair back and start blending the front section’s length to the back. Brush all the hair together, take everything that is sticking out, and cut them a bit shorter.
- Keep refining up to the top layer. Similar to a faded haircut, the farther the layer is from your scalp, the longer it should be.
- Lastly, take your guided razor (or any razor). Create a smooth finish around the nape and the sides of your head.
Learn How To Cut Your Own Hair To Get A Fresh Hairdo Anytime At Home
As stylists would often say, your hair is the crown you never take off. A fresh do will always be an extra confidence boost, so bid your bad hair days goodbye as you learn how to cut your own hair in the comfort of your home. It might seem like a challenge at first, but if others can do it, so can you! Have a hair cutting tool set ready and start snipping. And why not amp it up with some hair color? Bleach away with the help of these hair bleach ideas and aftercare tips. As a final touch to this hair care journey, keep your locks thick and healthy with the best shampoos to combat hair loss.