Recommended For You


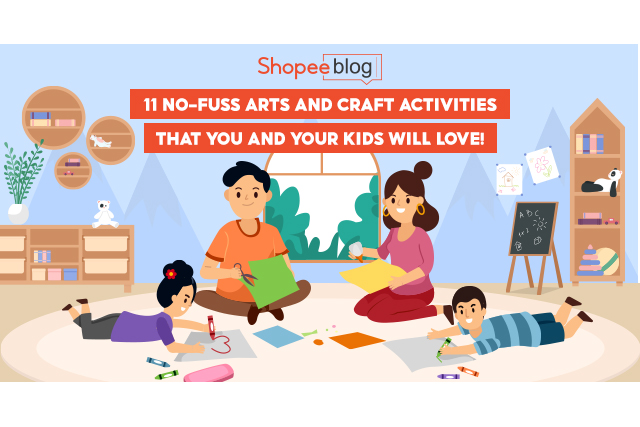
Tapping into your little one’s creativity is essential, especially when they’re at a young age. A great way to do that while spending intentional time with them is through arts and crafts activities that both you and your kids will surely enjoy. Doing arts and crafts will foster creativity, imagination, attention, and even the development of their fine motor skills! To help you out, we’ve rounded up 11 kids’ arts and crafts activities that you can do as a family for some much-needed bonding time. Don’t you worry! These arts and crafts ideas are kid-friendly and won’t make a ton of mess in your house.
Tissue Roll Cardboard Tube Arts and Crafts Activities
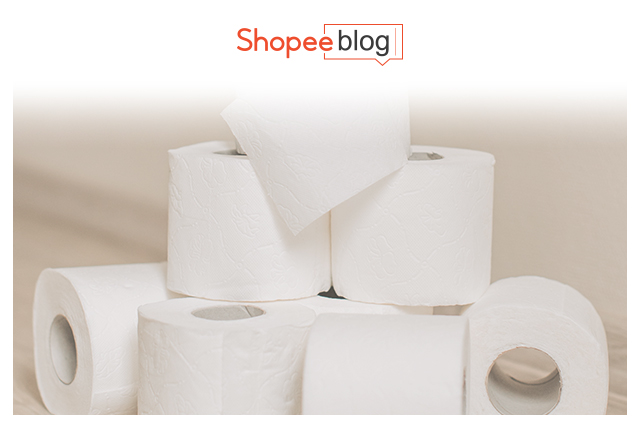
Credit: Vlada Karpovich / Pexels
1. Tissue Roll Cardboard Dragon
Who doesn’t love dragons? With the mystery and magnificence surrounding dragons, your little one will surely love making this fire-breathing creature! Once the tissue roll cardboard dragon is all set up, you can blow through one end of the tube to bring the dragon to life. Watch the tissue papers move about as if the dragon was breathing out fire.
What you’ll need:
- 1 cardboard tube from tissue paper roll
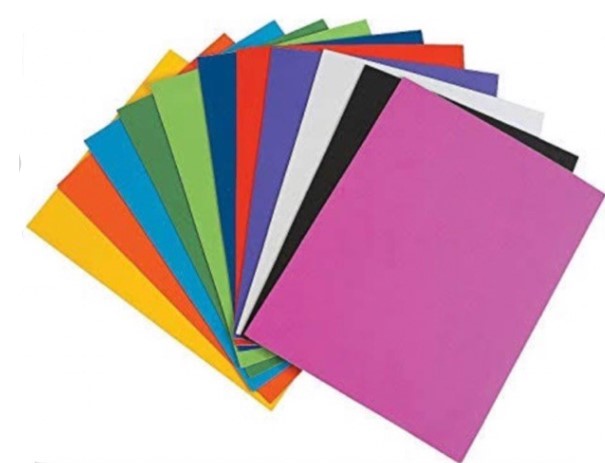
- 1 sheet of colored paper
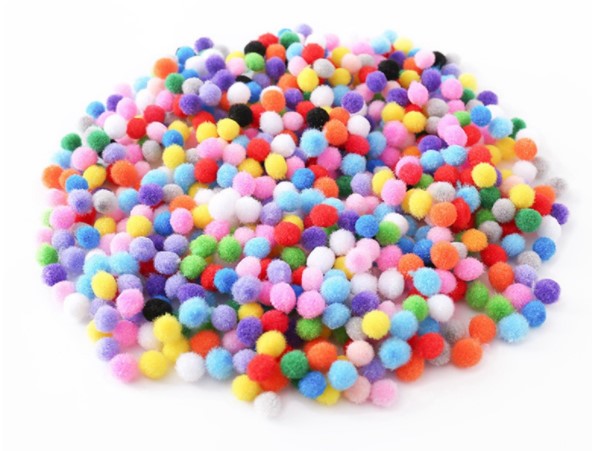
- 2 large pom-poms
- 2 googly eyes
- 3 tissue papers in different colors
- 2 small pom-poms
- Glue stick
- Scissors
Steps:
- Cover the cardboard tube with the colored paper using a glue stick. This is the base of the dragon’s face!
- Next, stick one of the googly eyes to one of the large pom-poms. Do the same with the other googly eye and the other large pom-pom. These are the dragon’s eyes!
- Stick the dragon’s eyes to one end of the cardboard tube, side by side.
- Stick both the small pom-poms to the other end of the cardboard tube. This will make up the dragon’s nose!
- Cut up strips of tissue paper, depending on how long you want the dragon’s breath to be.
- Stick each strip to the inside of the cardboard tube under the dragon’s nose. And the dragon is complete!
2. Tissue Paper Roll Binoculars
Let your kid unleash the little explorer in them with these tissue paper roll binoculars! Kids have a tendency to be curious about every single thing around them, whether big or small. With the help of these binoculars, they’ll have a great time exploring new things and embarking on amazing adventures!
What you’ll need:
Steps:
- Tape both cardboard tubes together, side by side.
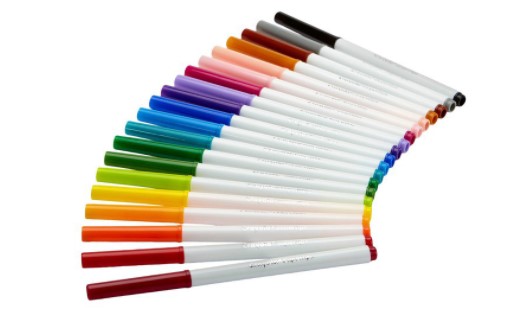
- Decorate the binoculars with markers, crayons, or even stickers!
- Poke holes to the side of the cardboard tube on one end.
- Tie one end of the string and thread it through a hole you made. Do the same for the other hole on the other side.
- Secure the string in a knot and you can now wear the binoculars around your neck!
Bottle Arts and Crafts Activities
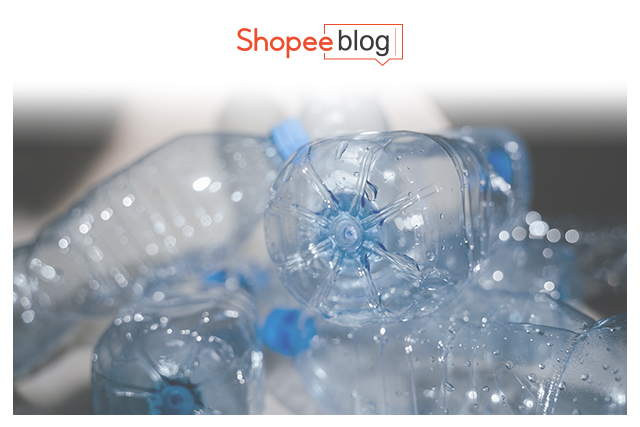
Credit: Mart Production / Pexels
3. Glow in the Dark Firefly
Nothing tops seeing fireflies light up a dark night! Let your kid experience the magic of witnessing fireflies by making your very own glow-in-the-dark firefly at home with these simple materials!
What you’ll need:
- 1 recycled empty bottle
- 1 glow stick
- 4 pipe cleaners
- 1 foam sheet
- 1 pair of googly eyes
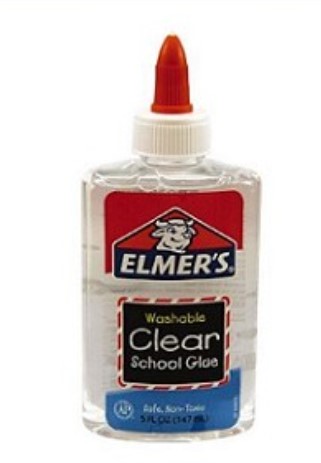
- Elmer’s liquid glue
- Glue gun
- 1 sheet tissue paper
Steps:
- Cut a sheet of tissue paper into strips, preferably an inch long.
- Cover the empty bottle with a layer of liquid glue.
- Stick the tissue paper on the bottle and let it dry.
- Once it’s all dry, wrap one of the pipe cleaners around the center of the bottle. Wrap another one on top of the tissue strip and the other at the bottom. With the fourth pipe cleaner, wrap it around the neck of the bottle to form the firefly’s antenna.
- To form the legs, twist the pipe cleaners around the bottom.
- Cut two wings out of the foam sheet.
- Attach the wings on top of the bottle with a glue gun.
- Insert the glow stick in the bottle.
- Glue on the two googly eyes on top of the bottle cap and the firefly is complete!
4. Recycled Tin Can Windsock
If you’re in need of some color explosion at home, this recycled tin can windsock is the perfect arts and crafts idea that you should try out! Aside from adding color to your home decor, your kids will surely enjoy being able to easily tell the direction of the wind every single day.
What you’ll need:
- Clean recycled tin can
- Masking tape
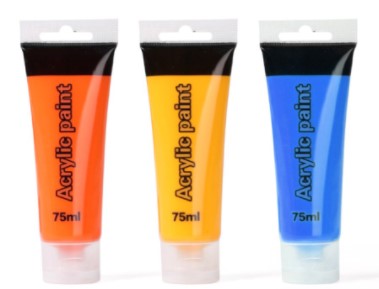
- Acrylic paint
- Paintbrushes
- Glue
- Ribbons
- Glitter and stickers (optional)
Steps:
- For safety purposes, line the inside of the can with at least two layers of masking tape to prevent any injuries from the can’s sharp edges.
- Paint the tin can with acrylic paint in the color of your choice. Add some more sparkle with glitter and stickers too!
- Let the paint dry for a few minutes.
- Once it’s dry, stick the ribbons in the bottom rim of the tin can. You can attach as many ribbons as you want!
- Stick two ribbons at the top so you can hang it. Voila! You’ve got your very own tin can windsock!
5. Yarn Wrapped Vase
Running out of vases to hold your flowers at home? Fret not because you can make one with your kids and have a great time doing it! Try out this yarn wrapped vase that makes it to the top of fuss-free and extremely easy arts and craft activities. You’ll have a beautiful vase on your table in no time!
What you’ll need:
- Recycled empty glass bottle
- Yarn (preferably in different colors)
- Elmer’s liquid glue
- Paintbrush
- Scissors
Steps:
- With a paintbrush, cover the glass bottle with Elmer’s glue.
- Starting from the bottom of the bottle, wrap one color of yarn.
- After a few layers, switch it up and use a different colored yarn.
- Keep wrapping the bottle with yarn until you reach the very top of the bottle!
- Put in your flowers of the day, and you’re all done!
Paper Bag Arts and Crafts Activities
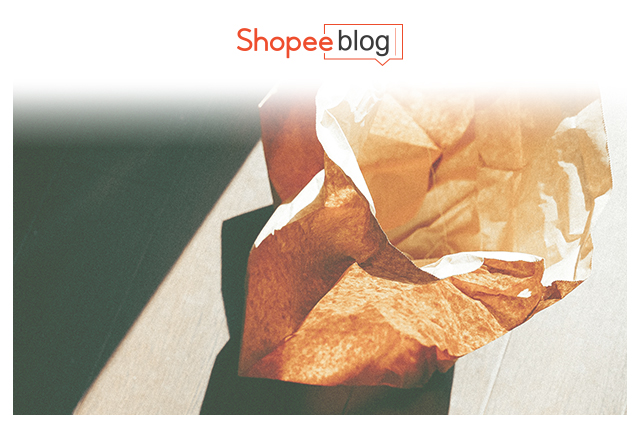
Credit: Vova Krasilnikov / Pexels
6. Paper Bag Puppet
Surely your little one enjoys being tucked in bed. And as most night routines would have it, storytime is an important part before your little one drifts off to dreamland. Make bedtime stories even more fun and interactive by bringing your kid’s favorite storytime characters to life with these paper bag puppets!
What you’ll need:
- Paper bag
- Colored markers
Steps:
- Put the paper bag on the table with the bottom flap facing up.
- With the colored markers, it’s time to start drawing! For the lips, draw the top part of the lip on the flap and the bottom part on the body of the bag. The middle of the lip should be right where the edge of the flap meets the bag’s body.
- Draw other facial features on the flap.
- As for the body and clothes, draw it on the body of the bag!
- Insert your hand in the paper bag and begin your storytime!
7. Paper Bag Crown
Fulfill your little girl’s dream of being a princess with this paper bag crown! The great thing about these kinds of arts and crafts activities is that you can take full control of the design. Decorate as you wish because the power is in your hands!
What you’ll need:
- Paper bag
- Colored markers
- Pom-poms
- Glitter
- Sequins
- Glue
- Masking tape
Steps:
- Cut the paper bag down on the side and cut off the bottom to make it one lengthwise piece of paper.
- Cut the top in a zig-zag pattern.
- Place the paper bag on your kid’s head to measure how big the crown should be. To be safe, add an extra inch.
- Tape both ends together and you have the body of the crown.
- Decorate by drawing with the markers and sticking on pom-poms, glitter, and sequins. Let your kid take the lead in decorating their crown!
- Once the crown is fully decorated, let it dry and your kid will have their very own crown!
Paper Plate Arts and Crafts Activities
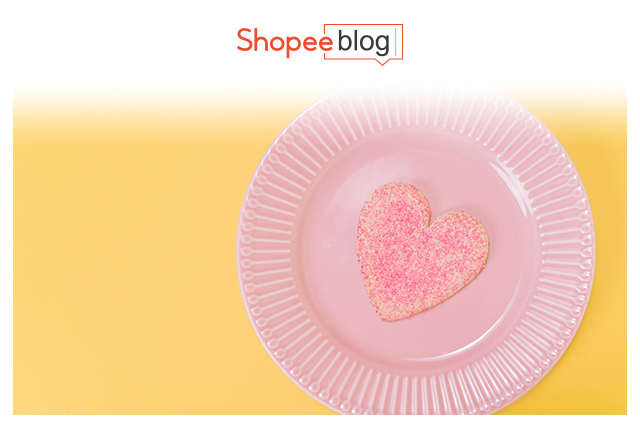
Credit: Rodnae Production / Pexels
8. Paper Plate Dream Catcher
Dream catchers are said to be able to catch any bad dreams. Surely, your kid isn’t a huge fan of nightmares so these dream catchers might be of help! Whether you believe in its powers or not, it still makes a great home decor in your kid’s room.
What you’ll need:
- Paper plate
- Yarn
- Hole puncher
- Feathers
- Scissors
Steps:
- Remove the inside of the paper plate’s rim by cutting it out with a pair of sharp scissors.
- Make holes all around the inside rim of the paper plate with a hole puncher.
- Weave the yarn through at least four holes.
- Once the yarn has weaved through the holes, the last hole should be one of the holes in the bottom of the paper plate.
- Leave the yarn to hang a few inches long and cut it.
- Tie a feather at the end and you’ve got your very own dream catcher to keep you safe from all those nightmares!
9. Paper Plate Fish
If you feel like giving your kid a pet fish is too big of a responsibility for them, we have a creative alternative for you! With their fish-fever going on, you and your kids can create your very own paper plate fish in the meantime.
What you’ll need:
- Colored paper plate
- Markers
- Colored paper
- Scissors
- Tape
Steps:
- Cut a small triangle on one edge of the paper plate, Pacman style.
- Tape the triangle to the other side of the paper plate as your fish’s tail.
- Draw an eye on top of the cut-out triangle.
- Start adding in your fish’s special features with colored markers and cutting out shapes and objects on colored paper.
- Make as many fishes as you want and you’ll have your very own aquarium sooner than you think!
Paint Arts and Crafts Activities
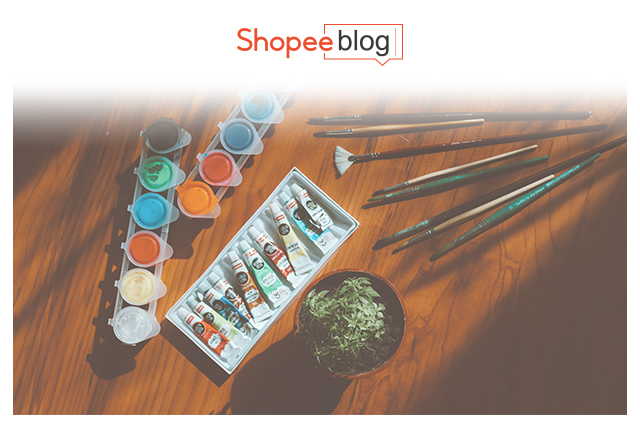
Credit: Buse Doa / Pexels
10. Bubble Painting
Almost every kid out there has an undying fascination with bubbles! Take it up a notch with this fun (yet possibly messy) kids’ arts and crafts idea. With bubbles in the picture, painting has never been this fun!
What you’ll need:
Steps:
- In a cup, mix half a cup of water with a squirt of dish soap and paint.
- Let your kid blow bubbles in the cup with the help of a straw.
- Lay the sheet of construction paper on top of the bubbles while it’s still in the cup. This will imprint the bubble pattern on the paper!
- Do this over and over again with different cups that contain different colored bubbles.
- Let the paper dry and you’ve got your masterpiece!
11. Pour Painted Flower Pots
Not afraid of a bit of mess in the name of creativity and fun? Then this pour painted flower pot arts and crafts idea is right up your alley! Elevate the look of your garden pots with this easy and creative arts and crafts.
What you’ll need:
- Clay pot
- Cooling rack
- Tape
- Acrylic paint
Steps:
- Tape the hole at the bottom of the pot from the inside so that paint won’t seep inside the pot.
- Put the pot upside down on the cooling rack.
- Start pouring paint all over the pot starting from the top and let it flow downwards to the rest of the pot.
- Alternate pouring different colored paint.
- Let the pot rest once you’re done decorating it. Fair warning: it might take days!
Bond With Your Kids By Trying Out These Arts and Crafts Activities!
Nothing beats family time! As a parent, it’s essential that you put in the effort to spend time with your little ones. If you’re looking for new, fun, and creative ways to do that, these arts and crafts activities are the answer to your prayers! You can also try baking with your kids if you’re up for the challenge. On the hunt for more ideas? Here are a few more fun home activities that you can do with your kids too! Make memories and meaningful experiences with your kids now!