

If you still haven’t heard, 2026 is being hailed as the year of analog living. People are living their lives more intentionally away from their screens through finding new activities. If you’re one of them, you came to the right place. This guide is your ultimate starting point to venture into one of the most popular analog hobbies—air dry clay.
What is an Air Dry Clay
Welcome to the world of clay! Unlike traditional pottery, which requires a thousand-degree kiln and a professional studio, air dry clay is the easier and beginner-friendly version of making ceramics. It’s affordable, non-toxic, and—as the name suggests—it cures simply by air drying.
In the 2026 Analog Trend—Why Clay?
Creativity, resourcefulness, and relaxation—basically sums up the vibes of analog hobbies and air dry clay offers all of these.
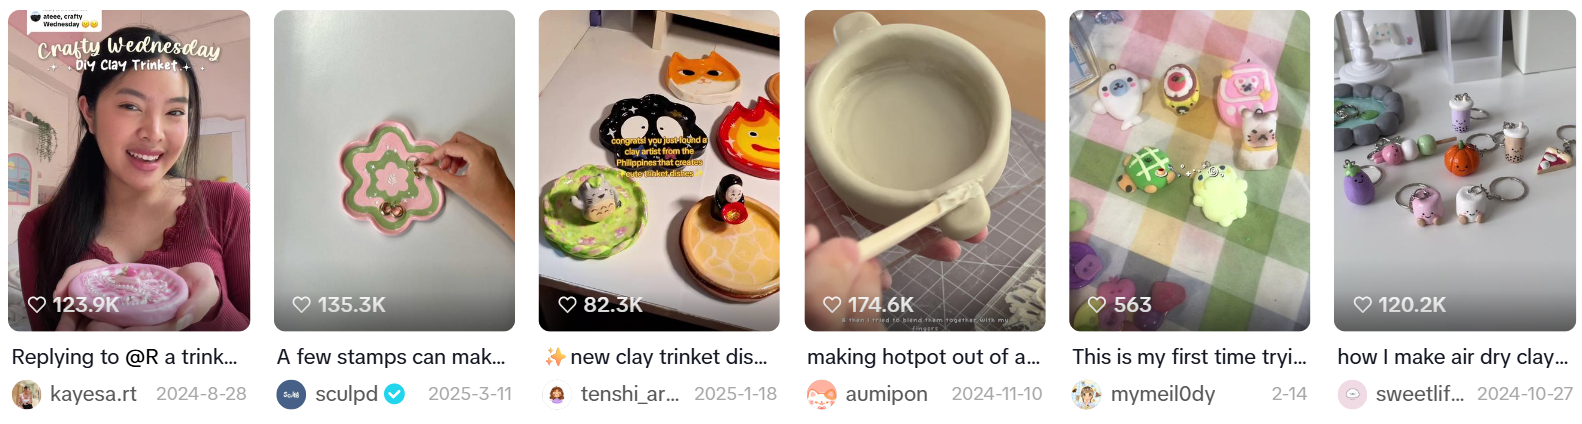
Its virality online is usually associated with the realm of trinkets, keychains, and even eye-pleasing yet functional room and kitchen decors. It’s all about tactile mindfulness. You just need your hands and mind to work together. When you’re sculpting, you aren’t just making a “thing”—you’re also reclaiming your focus and improving your awareness in being present. That’s why it’s the perfect stress reliever.
First Step: Pick Your Air Dry Clay
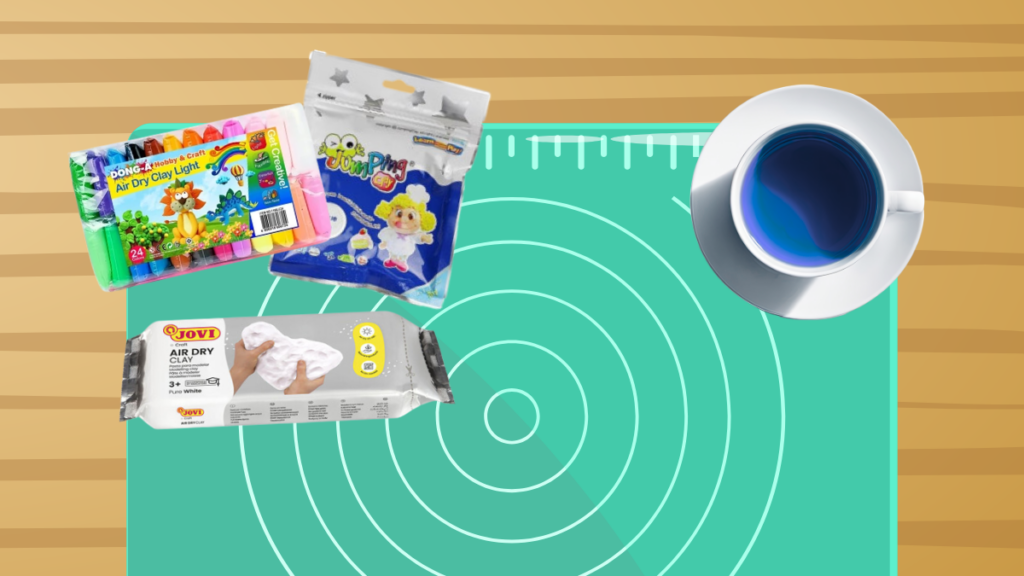
Choosing an air dry clay depends on the object you’ll be making and the durability it requires. Here are the top-rated brands you can buy online:
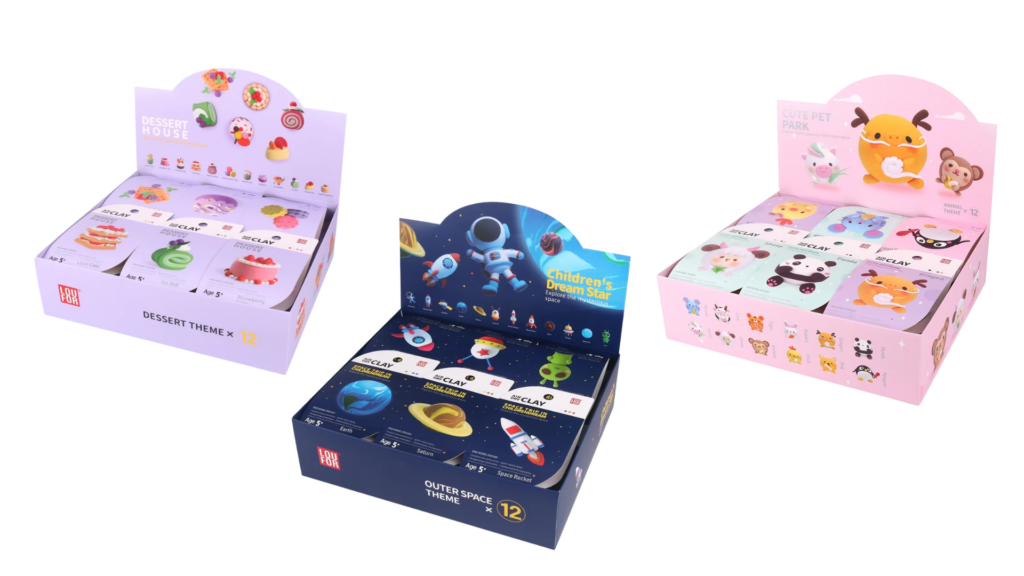
- LOUFOR Air Dry Clay Kit: If you are just testing out if this activity is for you, this brand offers clay kits that allows you to sculp miniatures and figurines may it be food, animals, or even outer space objects.
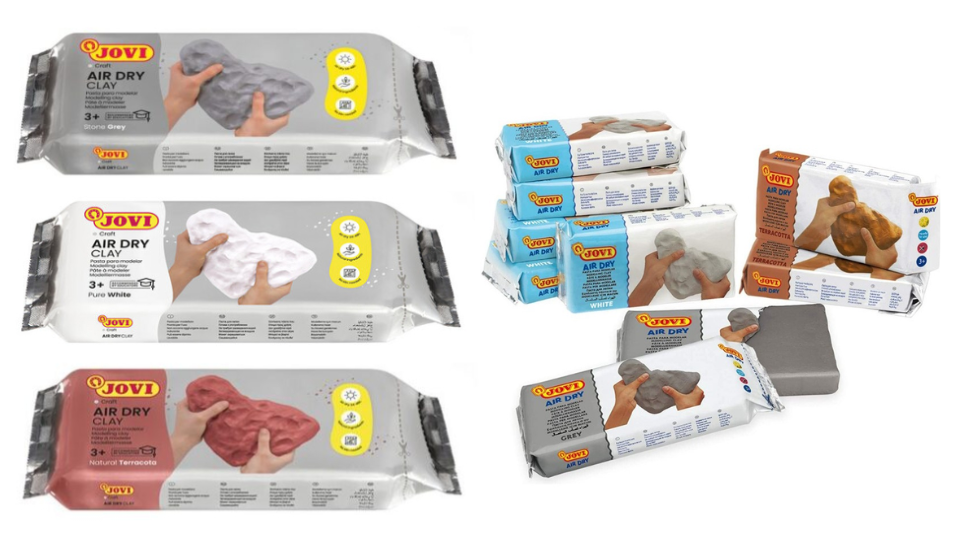
- Jovi Air Dry Clay: This is a favorite for air dry clay sculpting. It has a stone-like finish and is very durable once dry.
-
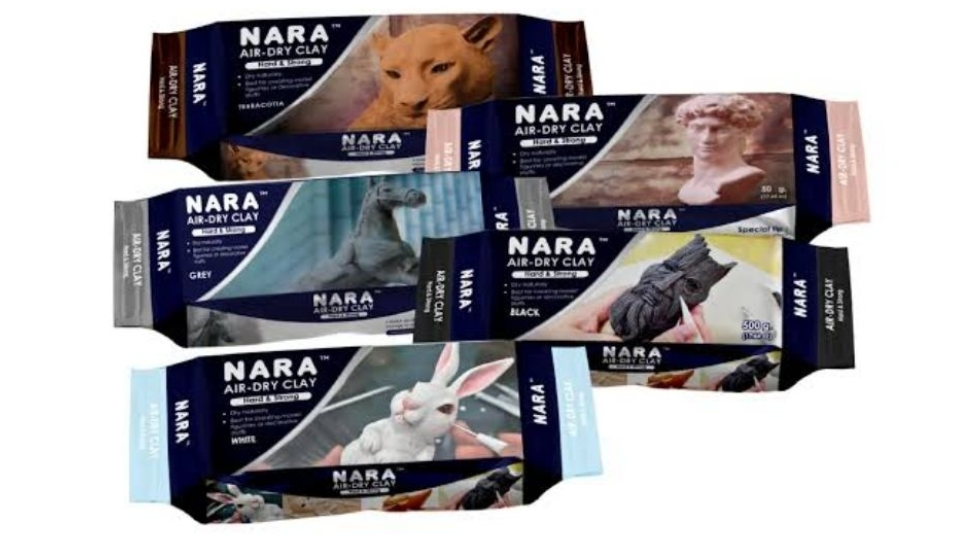
- Nara Air Hardening Clay: This clay is excellent for larger pieces that need a bit more structural integrity.

- Nara Air Hardening Clay: This clay is excellent for larger pieces that need a bit more structural integrity.
- Dong-A Air Dry Clay Light: Known for its smooth and soft texture, this is perfect if you’re doing crafts with younger ages or venturing on projects with intricate designs. It also offers wide variety of colors if you want to get over the hassle of mixing hues.

- Jumping Clay Air Dry Modelling Clay: An ultra-lightweight, jasmine-scented, eco-friendly, and gluten-free clay that is mess-free and bounces when dry. Its soft and malleable texture is also perfect for crafting with younger ages.

Then, the Sculpting: A Step-by-Step Process
Here comes the fun part—the sculpting! This process is applicable for any project you will be working on. More complex crafts just requires more skills, tools, and mastery.
Step 1: Prepare Your Workspace and Materials
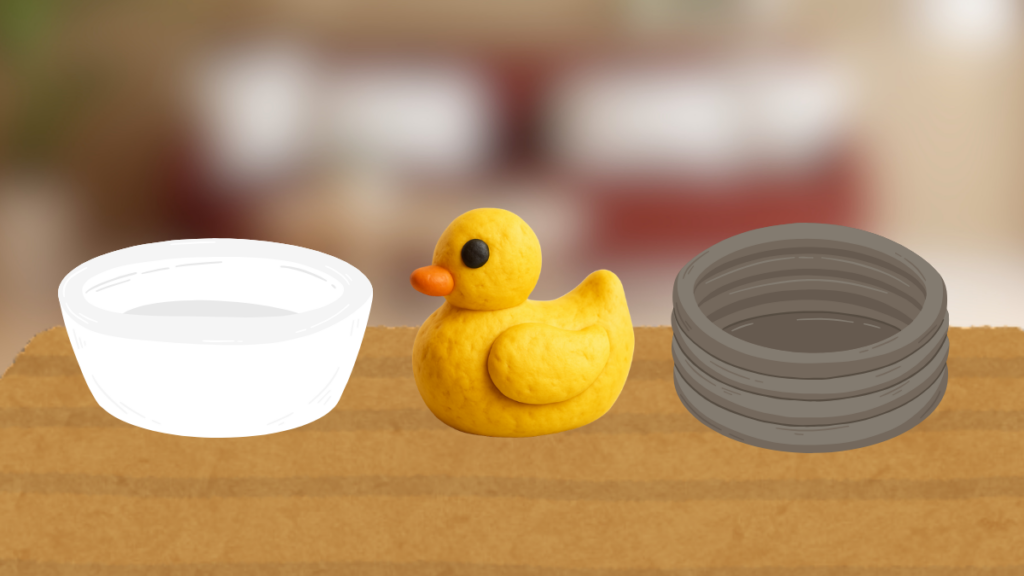
Prepare all the materials needed—your clay, a mat, and water. Then decide what project you’ll be working on to know how much clay you would need to have.
Work on a non-stick surface like parchment paper or a crafting mat. Keep a small bowl of water nearby that you’ll use later for sticking clay together or evening out surfaces.
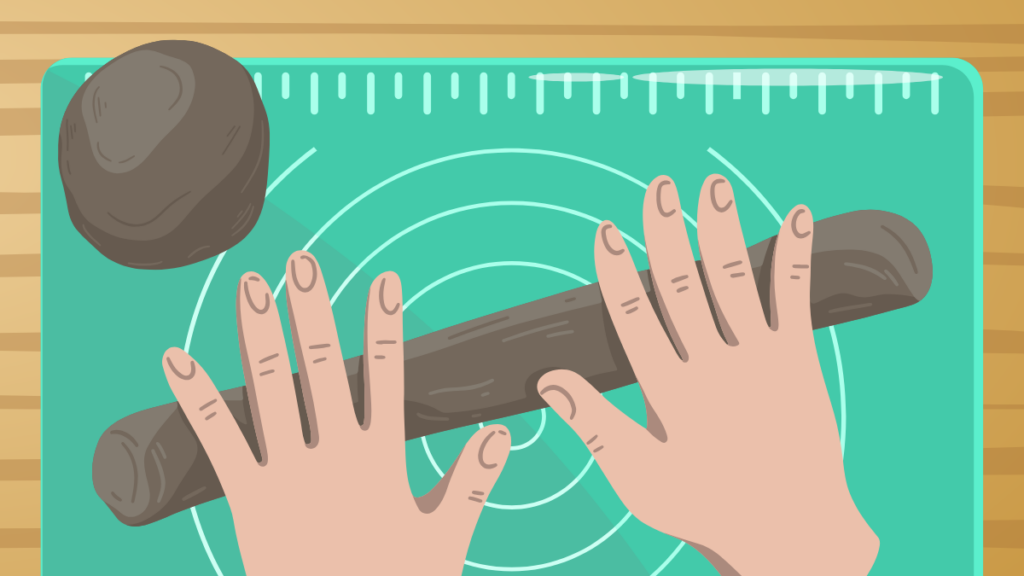
Step 2: Knead and Roll
Take a chunk of clay based on the size of your project and knead it to remove air bubbles. Pro Tip: Roll it out into cylinders to make the shaping process easier. Avoid rolling it too thin, as this leads to warping and cracking.
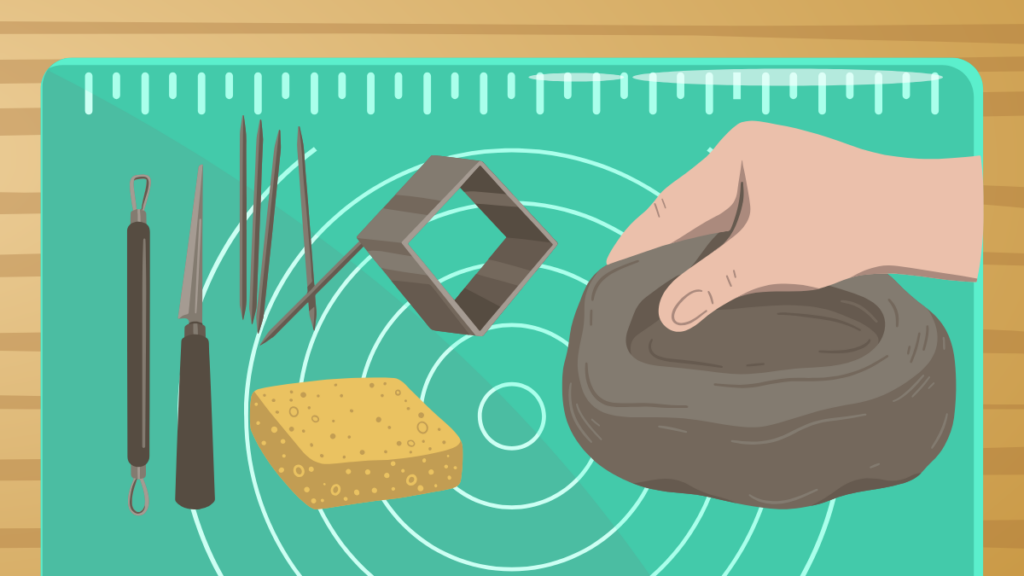
Step 3: Shape Your Object
Mold it to the object you like. For more complex objects you might need cutting tools like a craft knife or cookie cutters, including sculpting tools and sponge for small and intricate details.
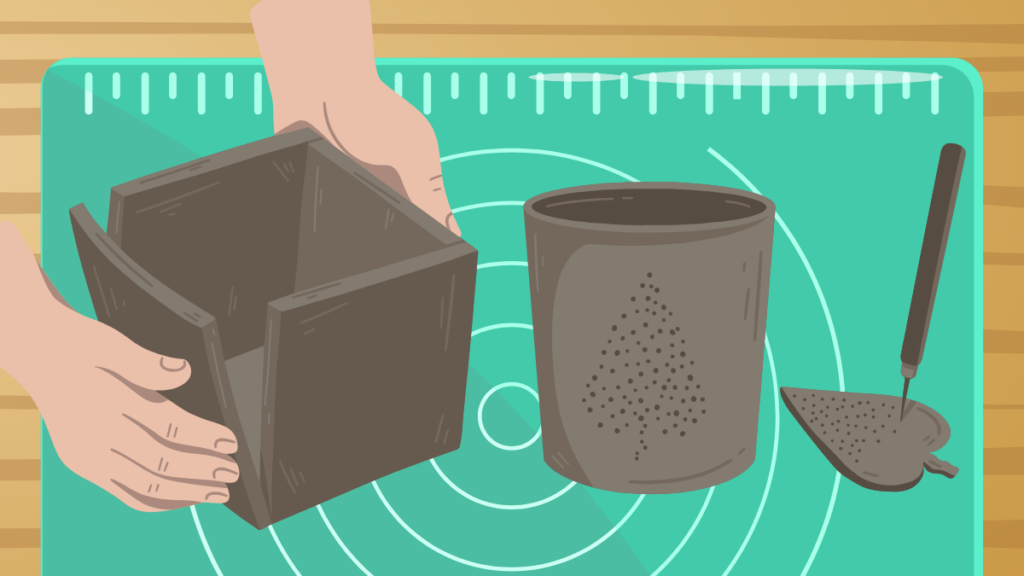
Step 4: Smoothing & Joining
Don’t worry about the fingerprints and uneven shapes. But if you want more symmetry, you can use a damp finger to smooth out any surface or stress lines. If you are joining two pieces together (like adding a handle or design), use the score and slip technique by poking or scratching both surfaces with a toothpick and applying a little water to stick them together.
Step 5: The Drying Process (Crucial!)
To avoid cracking, dry your piece slowly. Give it a lot of time to dry.
Place it in a cool, dry area away from direct sunlight or fans. Cover it loosely with a piece of plastic wrap for the first 12 hours to slow down the evaporation. Flip the piece occasionally so both sides dry evenly.
Frequently Asked Questions (FAQs)
How do I prevent my clay from cracking?
Cracking usually happens when the clay dries too fast or unevenly. Ensure your piece has a consistent thickness and dry it away from heat sources.
Is air dry clay waterproof?
No, air dry clay is water-based. To make it water-resistant, you must seal it with varnish or even clear nail polish once it is completely bone-dry.
Can I use it for food?
Most air dry clays are not food-safe. Even with a sealer, I recommend using your creations for decorative purposes only (like jewelry or keys).
Sculpting Is the New Thing
See? Doing air dry clay crafts are easy peasy. With just a few tools and a bit of patience, you now have a new way to relax, to lower your screentime, and to create a cute decor for your place.
If you enjoy this “messy” yet mindful activity, I’m sure you’ll also enjoy the art of junk journaling. Read on our Junk Journaling Shopee Finds on a Budget article to kickstart your journey to unlocking another fun analog hobby.