


 Tondo I / Ii,Metro Manila
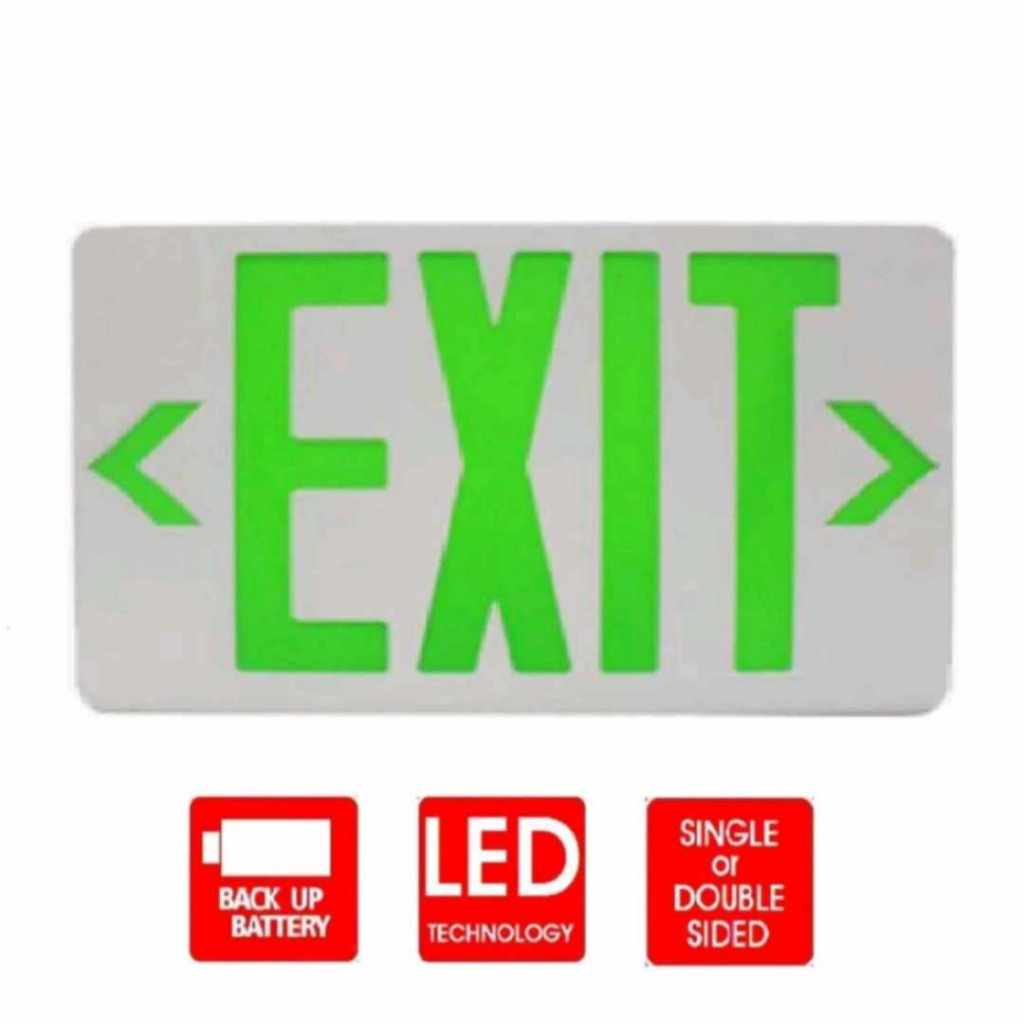
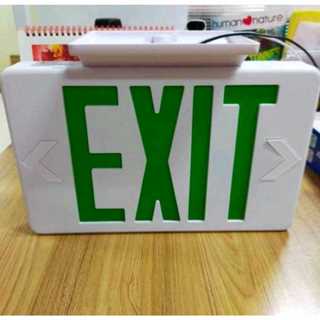
PRODUCT SPECIFICATION 1. Battery : 2.4V 300mAh Nickel-Codmium 2. Charging Time: 24 hours 3. Discharging Time: 2 hours 4. Voltage: AC85-265V 5. Wattage: 3W (back up battery) 6. Dimension: L - 299mm x H - 184.5mm x W - 44.6mm 7:IP rating:IP20 8:Materials:Injection-molded thermoplastic ABS Housing PRODUCT FEATURES 1. Superior LED chip and driver inside 2. Durable Polycarbonate shell 3. No UV / IR Emission 4. Mercury-free, No harmful chemicals 5. High Lumen Output for optimum brightness 6. Environmentally Friendly 7. Up to 85% Energy Savings 8. 25,000 Hours Lifespan PARTS DESCRIPTION 1) Plastic housing 2)EXIT panel 3)Back plate 4) Mounting hole cover 5) Snap in directional 6) Red or Green diffuser 7) Canopy 8) Canopy screws 9) Wire nuts 10) Junction box(building utility) 11) Crossbar 12) Crossbar screws (not provide ROHstar INSTALLATION INSTRUCTI AC&Self--Powered LED Exit Signs Installation Ins IMPORTANT SAFEGUARDS BACK MOUNT When using Electrial equipment, basic safety precautions should always be followed including the following 1.READ AND FOLLOW ALL SAFETY INSTRUCTIONS 2. Do not use outdoors 3.Do not mount near gas or electric heaters 4.Do not let power cords touch hot surfaces 5.Use caution when servicing batteries. Avoid possible shorting. 6.Equipment should be mounted in locations and at heights where it will not readily be subjected to tampering by unauthorized personnel. 7. The use of accessory equipment not recommended by the Manufacturer may cause an unsafe condition 8. Do not use this equipment for other than intended use 9. Before wiring to AC service, turn off AC power at fuse or circuit breaker 10. Disconnect AC power and unplug battery before service 11. When relamping, only use lamps specified in the fixture 12. Battery in this unit may not be fully charged. After the AC service is supplied to unit. let the battery charge up for at least 24 hours before performing any tests. SAVE THESE INSTRUCTIONS INSTALLATION BACK MOUNTING-See diagram1 1.Drill 1/4' holes into oblong knock outs on back plate(3) that correspond to junction box(10) holes to be used. 2.Feed the input leads through center hold and make the proper connections. If the unit is self-powered. Ensure to snap battery connector together. 3.Feed excess wire into junction box and secure back plate #Exit #back up battery #LED